Media How-to
How to Blur Part of a Screenshot on Windows
How to blur part of a screenshot on Windows 11: hide names, emails and passwords before sharing with a blur tool or Paint, and redact safely.
On this page
To blur part of a screenshot on Windows, capture it with a screenshot tool that has a blur or pixelate tool, drag over the names, emails or numbers you want to hide, and save. Without one, open the image in Paint and cover the area with a solid filled rectangle, which is the most secure redaction. Always save a new file (PNG or JPG) so the original data is not kept, and avoid light blurs that can be reversed.
Time: 1–2 minutes · Cost: free · Works on: Windows 11 and Windows 10
You want to share a screenshot of an error, an order or a chat, but it shows your email address, account number or someone's name. Knowing how to blur part of a screenshot keeps private details private. This guide shows three ways on Windows, and the mistakes that let people "un-blur" an image.
What to Hide Before Sharing
- Email addresses, phone numbers, home addresses.
- Account, card, order and tracking numbers, QR codes and barcodes.
- Passwords, API keys, licence keys and one-time codes.
- Other people's names and profile pictures in chats.
- Browser tabs, bookmarks and notifications in the corners of the screen.
Method 1: Screen Capture Plus (Fastest)
-
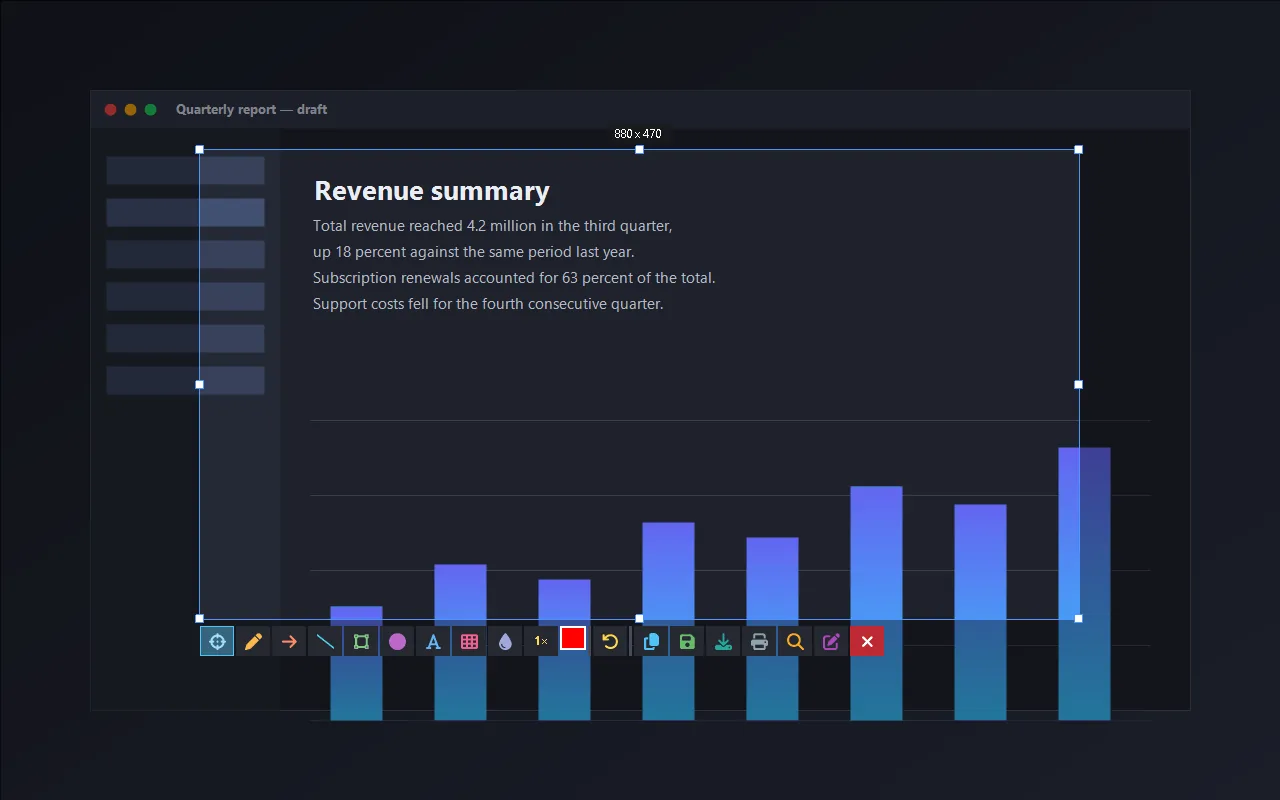
Capture the area
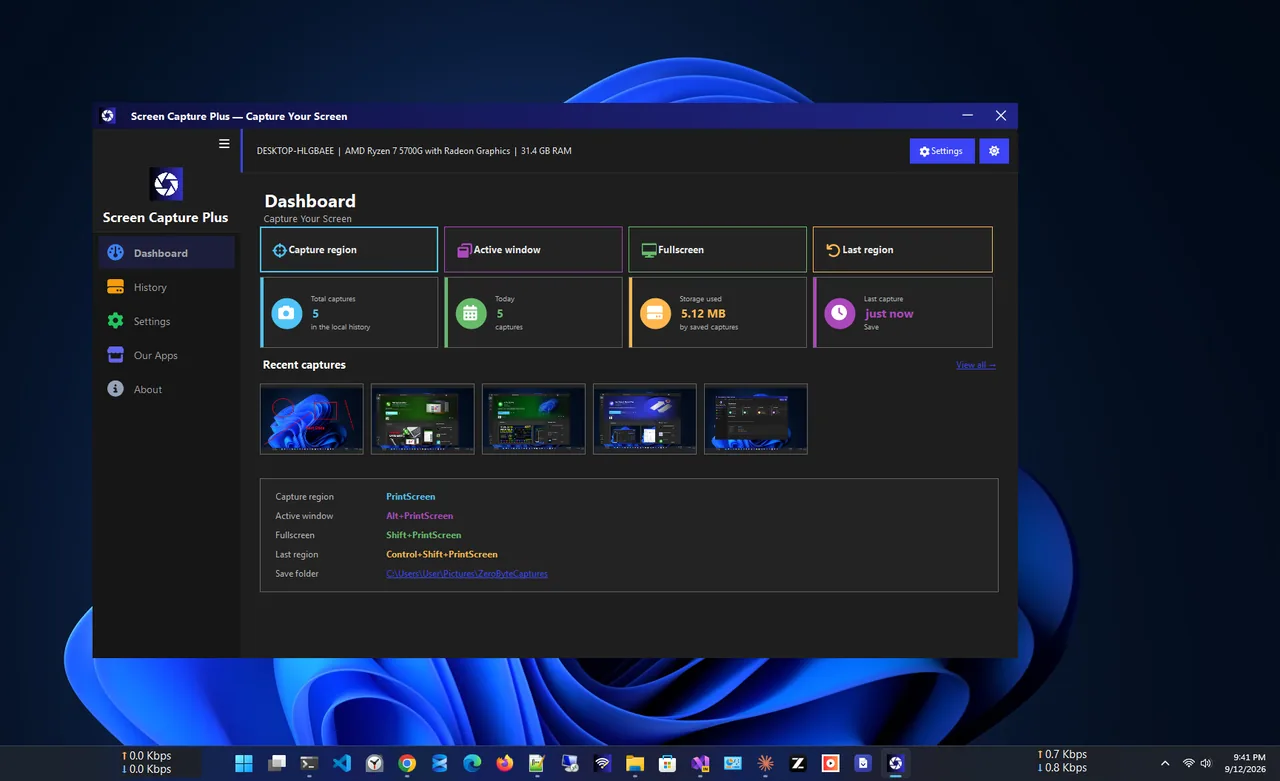
Press your capture hotkey in Screen Capture Plus and drag over the region you need. Capturing only what matters already hides most of the screen.
-
Choose the blur tool
In the drawing toolbar, pick Blur and drag a box over each private detail.
-
Copy or save
Copy the result to the clipboard to paste into chat or email, or save it as an image. Captures stay on your PC; nothing is uploaded.
Method 2: Paint (Built In, Most Secure)
-
Open the screenshot in Paint
Right-click the image > Open with > Paint, or paste a fresh capture with Ctrl+V.
-
Draw a filled box
Choose the Rectangle shape, set Fill to Solid color and pick black or a colour matching the background. Drag over the private text.
-
Pixelate instead (optional)
To get a blurred look, select the area, use Resize to shrink it to about 10% and then enlarge it back. Strong pixelation of large blocks is hard to reverse; a solid box is safest.
-
Save as a new file
File > Save as > PNG. Share the new file, not the original.
Method 3: Snipping Tool and Photos
Snipping Tool's editor has pens and a highlighter, and recent versions add shapes and a text redaction option for detected text. Use a pen with full opacity and thick strokes to cover details completely. The Photos app's editor can also draw over images. If Snipping Tool does not open, see Snipping Tool not working on Windows 11. All capture shortcuts are in how to take a screenshot on Windows 11.
Blur Safely: Common Mistakes
| Mistake | Why it is risky | Do this instead |
|---|---|---|
| Light blur on short text or numbers | Can be guessed or reconstructed | Strong blur or a solid box |
| Semi-transparent highlighter | Text shows through when brightness is raised | 100% opacity fill |
| Cropping in an editor that keeps the original | Some formats and apps keep hidden data | Save as a new PNG/JPG |
| Hiding the value but not the context | A visible URL, name or avatar still identifies you | Check corners, tabs and titles |
Blur Part of a Screenshot on Your Phone
If the screenshot is on a phone, use the built-in editor: on iPhone, open the screenshot preview, tap the markup pen and draw a filled shape at full opacity; on Android, many gallery apps include a mosaic or blur tool in Edit. The same rules apply: use strong blur or solid shapes, check the whole image, and share the edited copy.
Blur Part of a Screen Recording
For videos, the idea is the same but the tool is a video editor: Clipchamp, DaVinci Resolve and similar apps have blur or mosaic effects you can place over an area and track as it moves. Easier still, close private windows and turn on Do Not Disturb before you start recording, so there is nothing to hide afterwards.
Pre-Share Checklist
- Zoom in to 100% and check every blurred area is unreadable.
- Look at the taskbar, browser tabs, notifications and the address bar.
- Check reflections and small text in the background of photos.
- Share the edited copy and delete or keep the original privately.
FAQ
Can a blurred screenshot be un-blurred?
Weak blurs and small pixel blocks on short text can sometimes be reversed. Solid boxes cannot. Use a strong blur or solid fill for sensitive data.
Does Windows have a built-in blur tool for screenshots?
Not a dedicated blur in Paint. Draw a solid rectangle, or use a screenshot app with a blur tool.
Should I use PNG or JPG?
PNG keeps text sharp and is best for screenshots. JPG makes smaller files for photos.
How do I blur faces in a screenshot?
Use the same blur tool or a solid shape over each face. Large, strong blur works well on faces.
Conclusion
To blur part of a screenshot, use a screenshot tool's blur, or cover details with a solid box in Paint for the most secure result, then save a new file. Check every corner before you share. Explore more media apps for Windows 11.