System How-to
How to Free Up Disk Space on Windows 11: 12 Safe Ways
Free up disk space on Windows 11 safely: Storage Sense, cleanup recommendations, temp and junk files, Windows.old, duplicates and large files. 12 steps.
On this page
To free up disk space on Windows 11, open Settings, System, Storage and run Cleanup recommendations and Temporary files, then turn on Storage Sense. Next, remove Windows.old after a big update, uninstall apps you do not use, and delete duplicate and large files. Most PCs get back 10–50 GB without deleting anything important.
Time: 15 minutes · Cost: free · Works on: Windows 11 and Windows 10
"Your disk is almost full." When the C: drive bar turns red, updates fail, apps slow down and there is no room for new photos. The good news: a lot of that space is junk Windows can safely remove. This guide shows how to free up disk space on Windows 11 in 12 steps, safest and biggest wins first.
First, See What Is Using the Space
Open Settings, System, Storage. Windows shows a bar for each category: apps, temporary files, documents, pictures, videos and more. Select Show more categories to see all of them. Start with the biggest one.
Steps 1–6: Built-In Windows Tools
-
Run Cleanup recommendations
In Settings, System, Storage, select Cleanup recommendations. Windows lists temporary files, large or unused files, files synced to the cloud and apps you rarely use. Tick what you do not need and select Clean up.
-
Delete temporary files
Select Temporary files. Tick Windows Update Cleanup, Delivery Optimization Files, Temporary files, Thumbnails and Recycle Bin. Untick Downloads unless you have checked that folder. Then select Remove files.
-
Remove Windows.old
After a feature update, the old Windows stays in C:\Windows.old for 10 days and can take 15–30 GB. In Temporary files, tick Previous Windows installation(s). You lose the option to roll back the update, so only do this when the new version works well.
-
Turn on Storage Sense
Switch on Storage Sense and open its settings. Let it clean temporary files automatically, empty the Recycle Bin after 30 days, and choose whether to clean old files in Downloads.
-
Uninstall apps you do not use
Go to Settings, Apps, Installed apps, sort by Size, and uninstall large games and programs you no longer use.
-
Use Disk Cleanup for system files
Press Win + R, type
cleanmgr, choose C: and select Clean up system files. It finds a few extra items, such as old error reports and device driver packages.
Steps 7–9: Your Own Files
7. Delete duplicate files
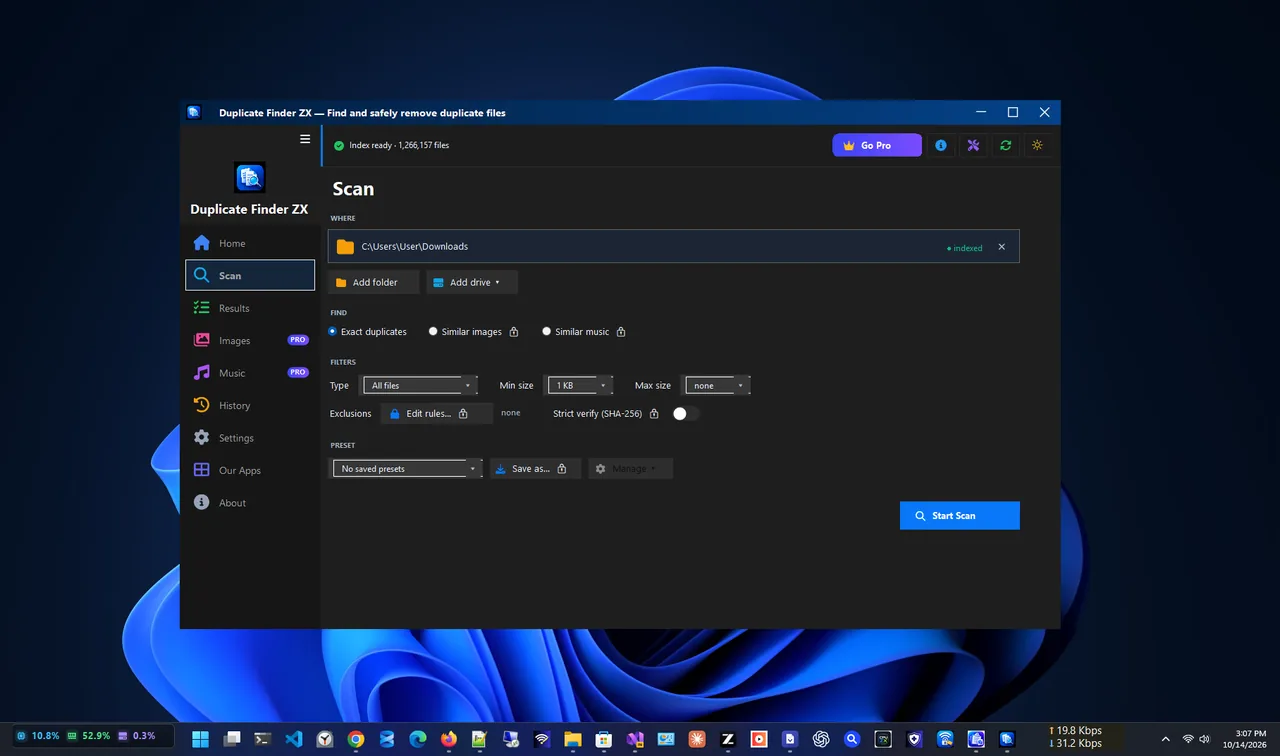
Copies of the same photos, videos and downloads pile up over the years, often tens of gigabytes. Duplicate Finder ZX scans a drive in minutes, groups exact copies by wasted space, and sends anything you remove to the Recycle Bin, so nothing is lost by mistake. For the full walkthrough, see our guide to finding and removing duplicate files.
8. Find large files
In File Explorer, open This PC, type size:gigantic in the search box (files over 4 GB), or size:huge (128 MB to 4 GB). Old videos, ISO files and installers are common finds. Move them to an external drive or delete them.
9. Clean up Downloads
Open the Downloads folder, sort by size and date, and delete installers and ZIP files you have already used. This folder is often several gigabytes.
Steps 10–12: Advanced Space Savers
10. Use OneDrive Files On-Demand
If you use OneDrive, right-click large folders and choose Free up space. Files stay visible and download when you open them.
11. Turn off hibernation (optional)
The hibernation file (hiberfil.sys) can be several gigabytes. If you never use Hibernate, open Terminal as administrator and run:
powercfg /h offThis also turns off Fast Startup. Laptop users who rely on Hibernate should skip this step.
12. Limit System Restore space
Search Start for "Create a restore point", select drive C:, choose Configure and lower Max Usage to 3–5 percent. Keep it on: restore points rescue you after a bad driver or update.
What About Junk File Cleaners?
Windows' own tools cover most junk. A cleaner adds app caches, logs, memory dumps and broken shortcuts that Windows misses. PC Health Optimizer does this for free, with a large files finder and a downloads cleaner, and sends deleted files to the Recycle Bin. Avoid "cleaners" that promise to boost speed by deleting registry keys aggressively.
What Not to Delete
C:\Windows\WinSxS, C:\Windows\System32, pagefile.sys, Program Files folders and the Installer folder. Removing them manually breaks Windows or apps. Use the tools above, which only remove what is safe.
FAQ
How much free space does Windows 11 need?
Keep at least 15–20 percent of the C: drive free, and 20 GB or more for feature updates. A nearly full SSD also gets slower.
Is it safe to delete temporary files?
Yes, through Settings or Disk Cleanup. Windows skips files that are still in use. Just check the Downloads box before removing it.
Why is my C: drive full for no reason?
Usually Windows.old after an update, the Windows Update cache, a large hibernation file, or app caches. Settings, System, Storage shows which.
Will freeing up disk space make my PC faster?
If the drive was nearly full, yes. Beyond that, see our guide to speeding up Windows 11.
Conclusion
Start with Cleanup recommendations and Temporary files, remove Windows.old when you no longer need it, then turn on Storage Sense so it stays clean. After that, duplicates and large files are where the big gigabytes hide. For more tools, see all system apps for Windows.